
Hip Anatomy and Hockey Training Implications
When you look at the dominant skaters throughout history (e.g. Martin St. Louis, Sidney Crosby, and Paul Kariya), there is one major feature they all have in common: strong and powerful hips.
The more I learn about hip anatomy, the more I recognize significant performance limiting issues in my athletes and clients. Many times limitations in the hips will cause injuries in other areas of the body (e.g. the knee or lower back). Fixing these limitations (when possible) or training around them (when fixing them is not possible) can get you back on track to making significant progress with your training.
Anatomical Limitation
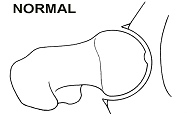
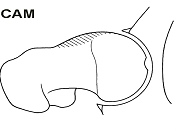
The number one limitation I see is a lack of hip flexion range of motion (ROM). This can be due to gluteal tightness, but is more frequently due to an anatomical abnormality of the hip joint itself. With a “healthy” hip, the top of the hip socket will slide over the head of the femur into a natural groove called the femoral neck. In individuals with the “anatomical abnormality”, this groove is replaced by abnormal bone growth, so when you enter hip flexion, the top of your hip socket will bump into the abnormal bone growth. This is known as CAM impingement and affects more people than I previously thought.
Healthy Hip CAM Impingement
Before I get to how you can screen for this, take a look at these two videos. You'll see in the first video that his hips tuck under when he reaches about 90° of hip flexion, something I see a lot of in the gym. In the second video you'll see that the left side of his hip dips down further than his right. These issues are related and become much worse when he squats in flat shoes and with a narrow stance. Pushing through (read: ignoring) this limitation as this guy (a former 600+ pound squatter) did will inevitably results in lumbar spine and hip labral problems.
VIDEO 1
VIDEO 2
I spoke with Shirley Sahrmann about this issue several months back and how she distinguishes between CAM impingement and posterior hip capsule tightness (the other most common culprit for hip tucking during squatting). She said that she has people perform 8-10 reps of an exercise known as quadruped rocking. If hip flexion ROM or the side-to-side discrepancy cleared up, it was probably posterior hip capsule tightness or a muscular limitation. If it didn't, it was probably an anatomical limitation of the hip joint itself. The important take home here is that if it's an anatomical limitation of the hip joint, all the foam rolling, stretching and mobility drills in the world won't fix it. It's bone grinding on bone; there's no out-stretching that.
QUADRUPED ROCKING VIDEO
I check three things in our athletes:
1) Total hip flexion ROM with a neutral spine
2) The amount of hip abduction and external rotation ROM
3) The “feel” at end-range
Hip flexion ROM is pretty self-explanatory. Generally as someone performs this exercise, their knees will slide out a little more, but there feet will stay in the same place, which increases the amount of hip abduction and external rotation ROM. The “feel” at end-range is one of the most enlightening parts of this test. If you feel tight in the back of your hip at end range, it's likely that this limitation can be worked around using some standard soft-tissue work and stretches.
GLUTE MAX/Hip External Rotators Self-Myofasical Release
Lying Knee-to-Knee Stretch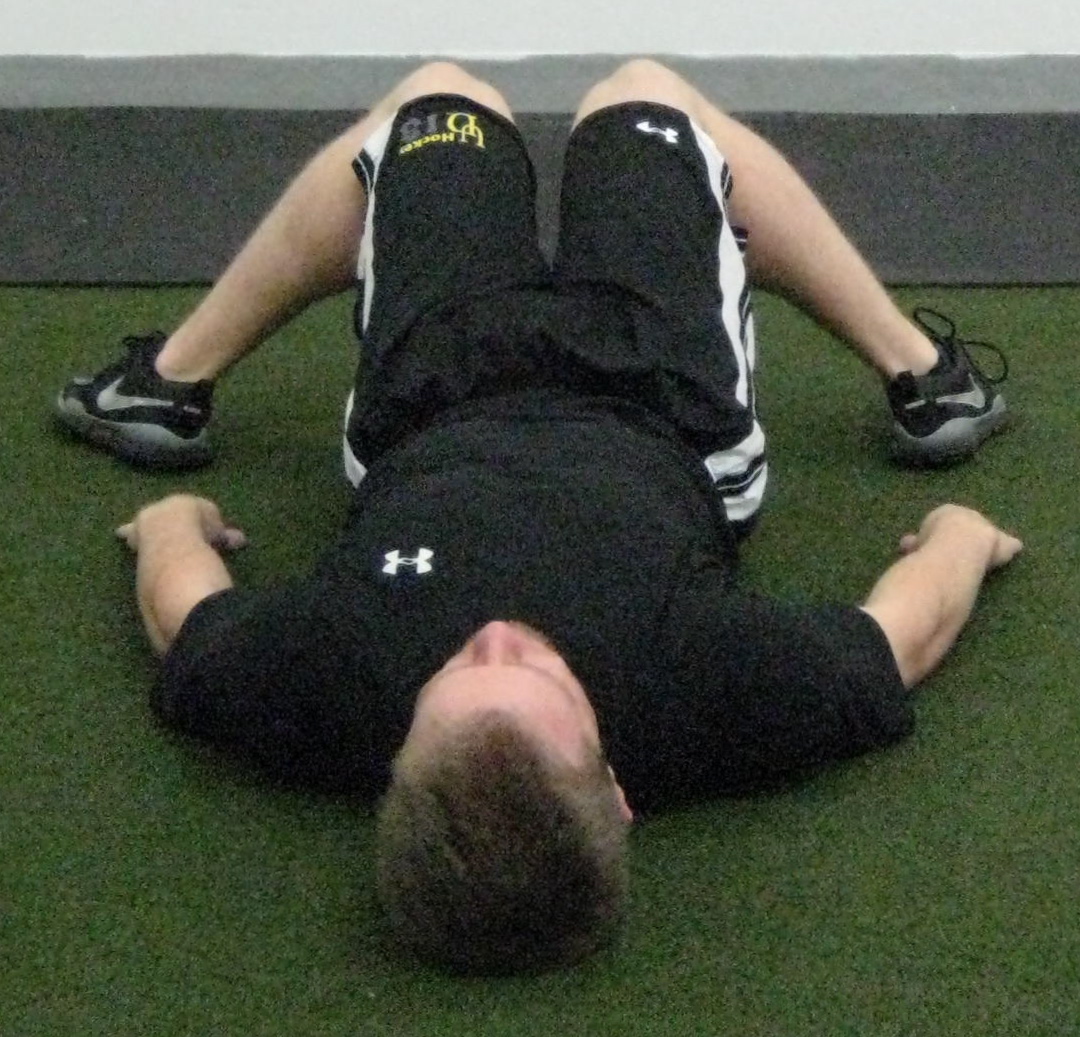
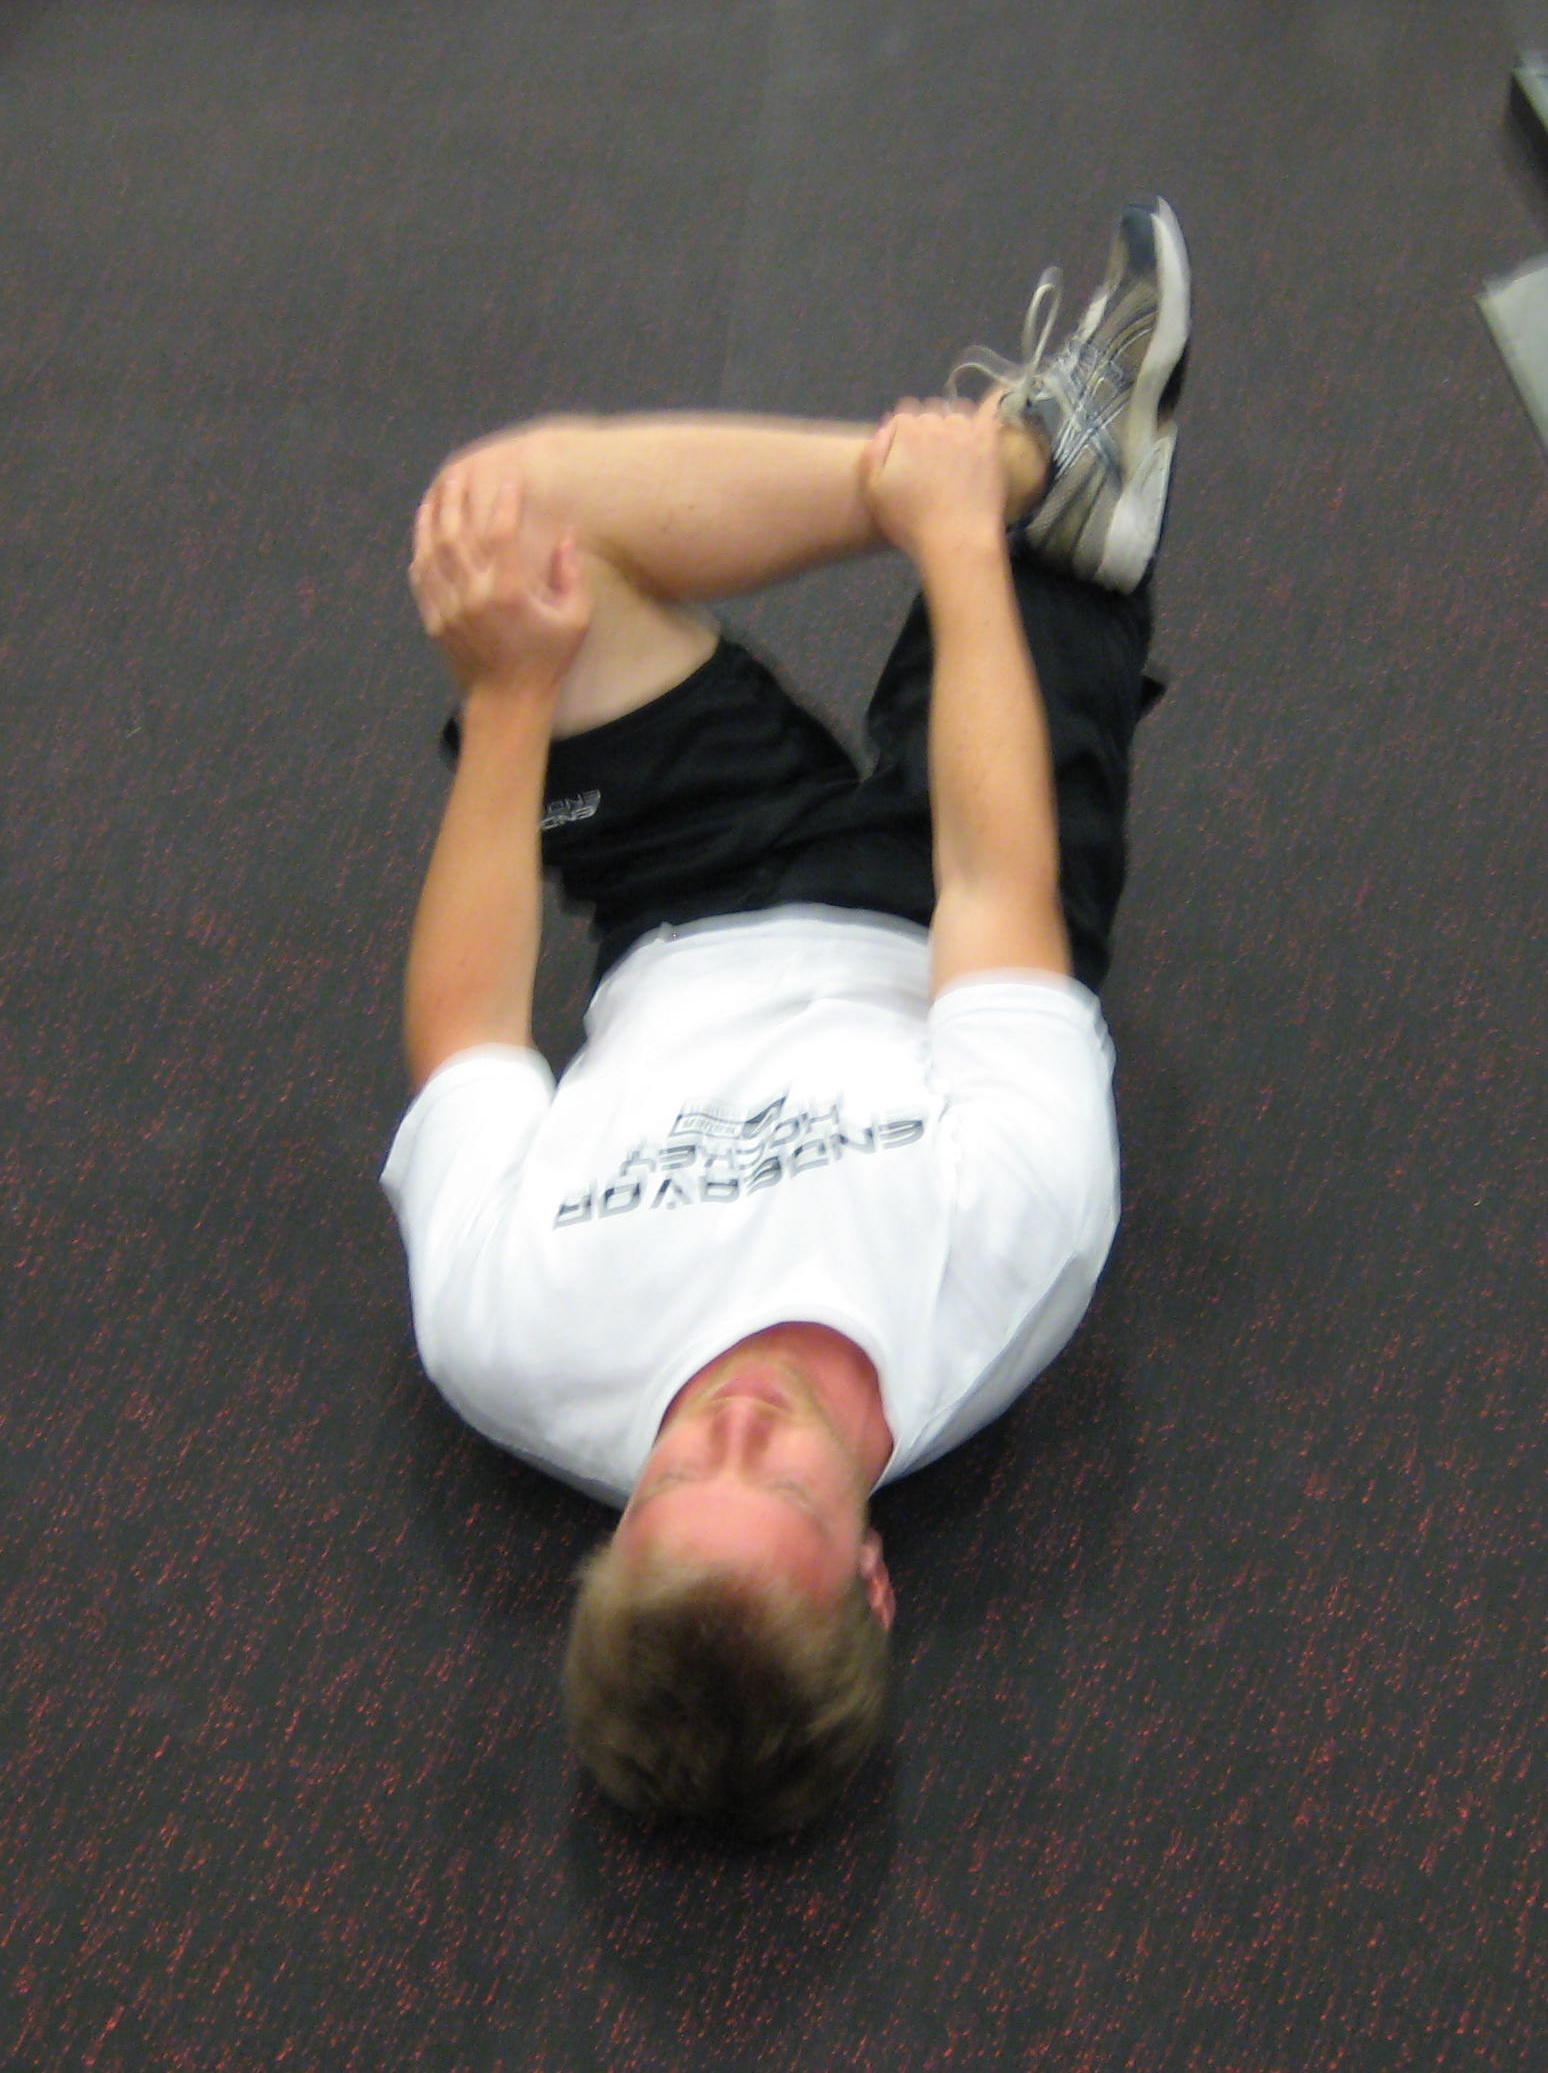
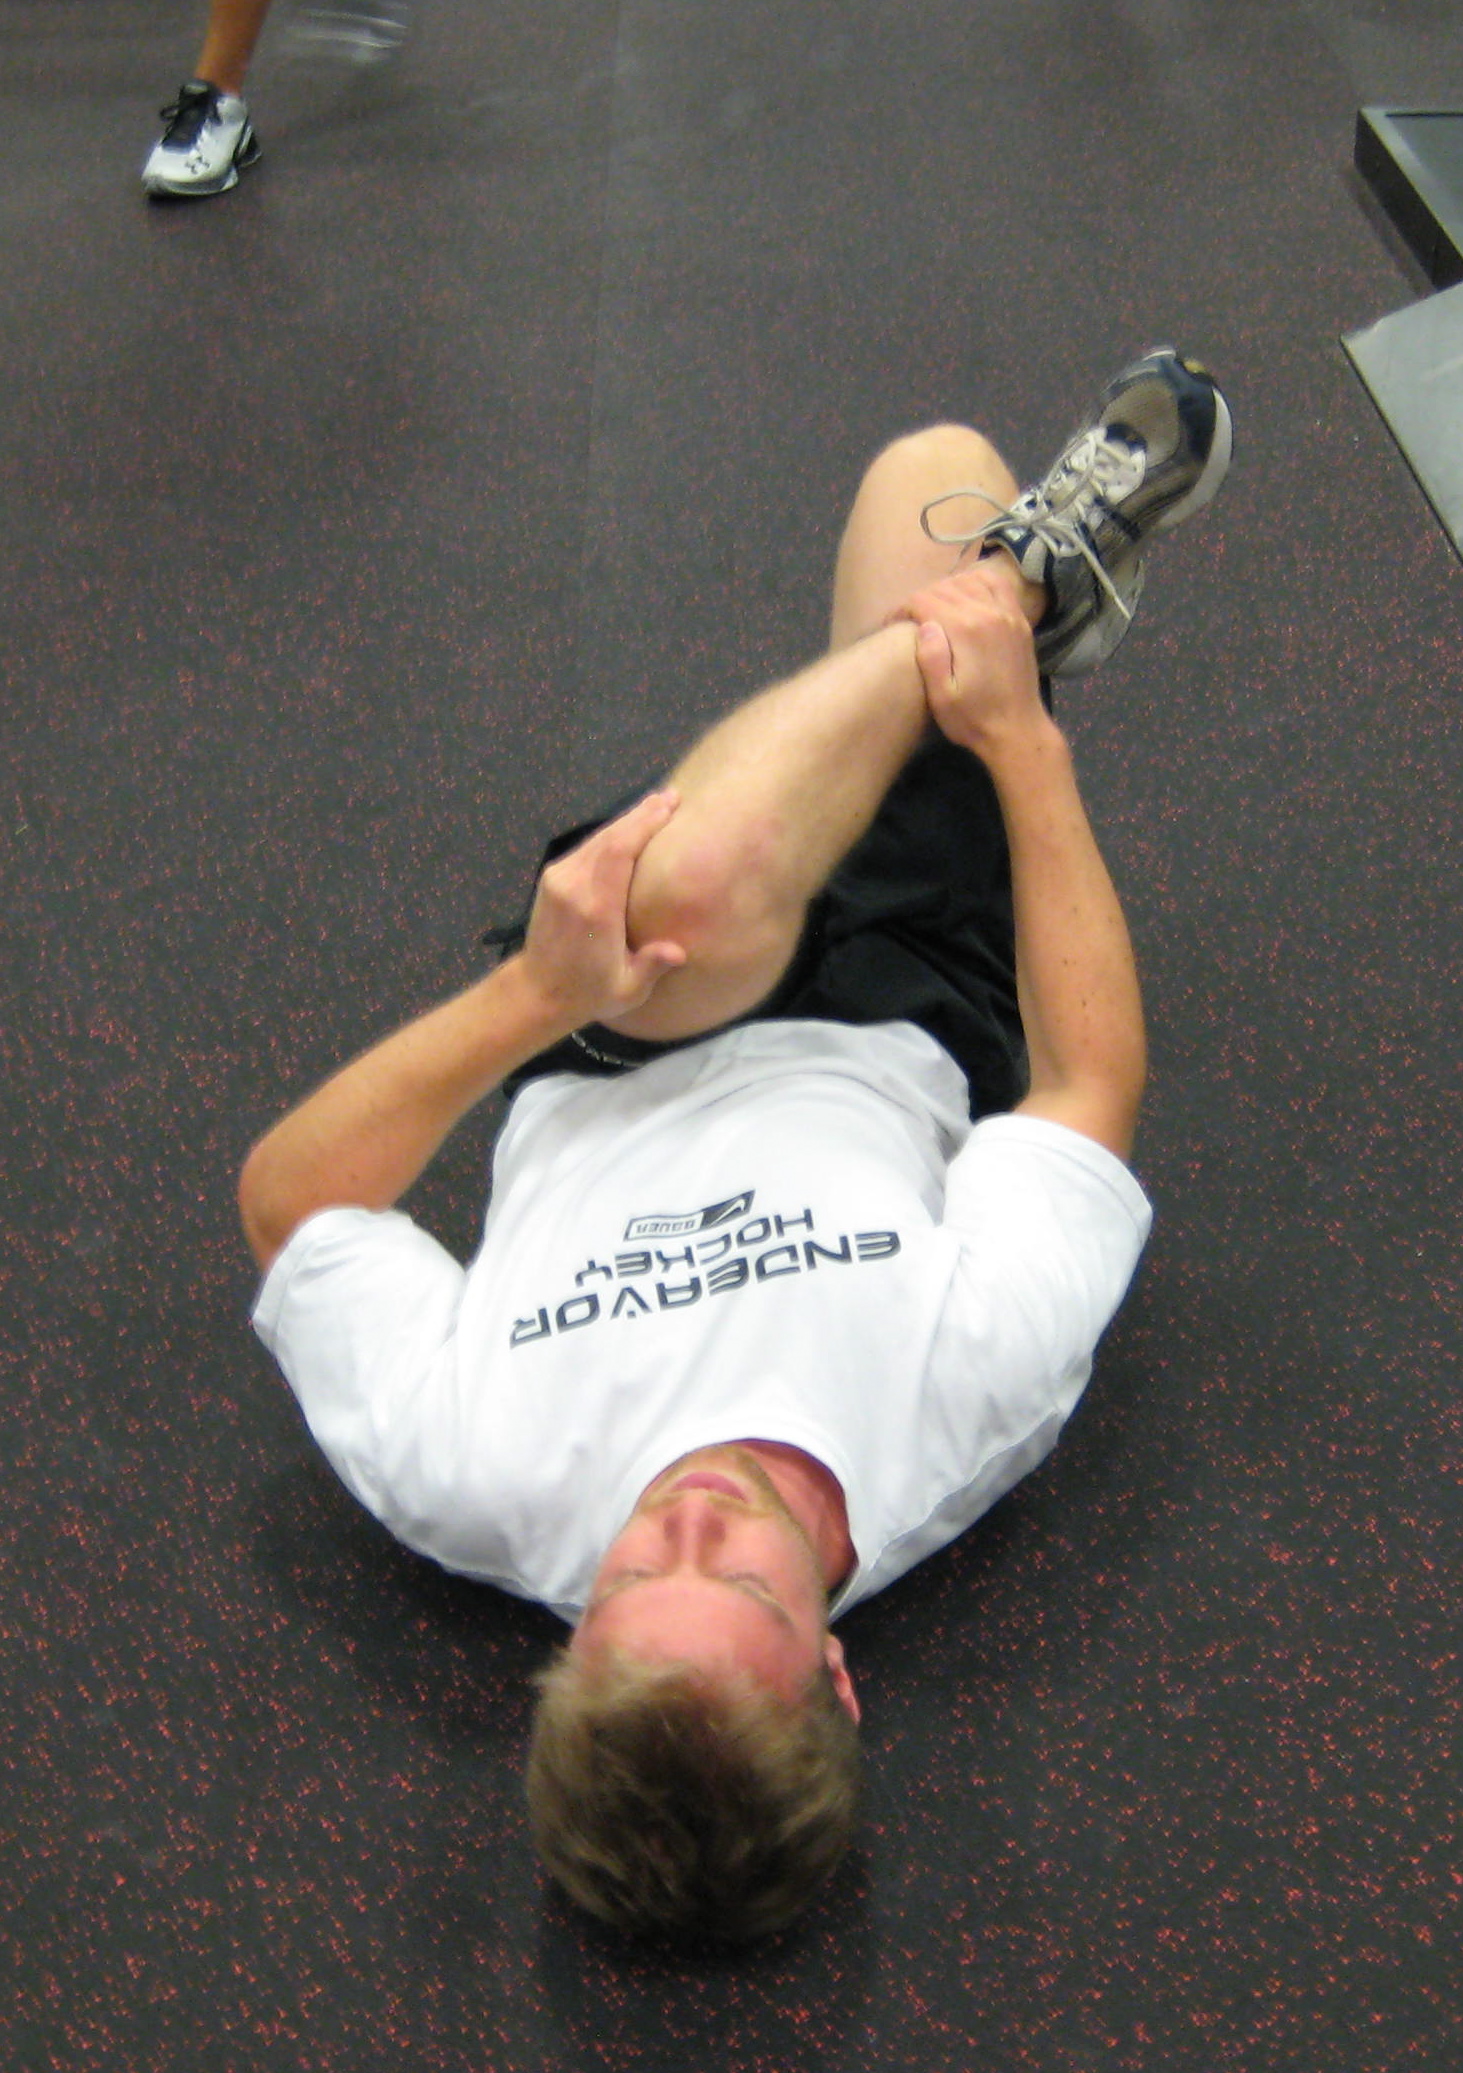
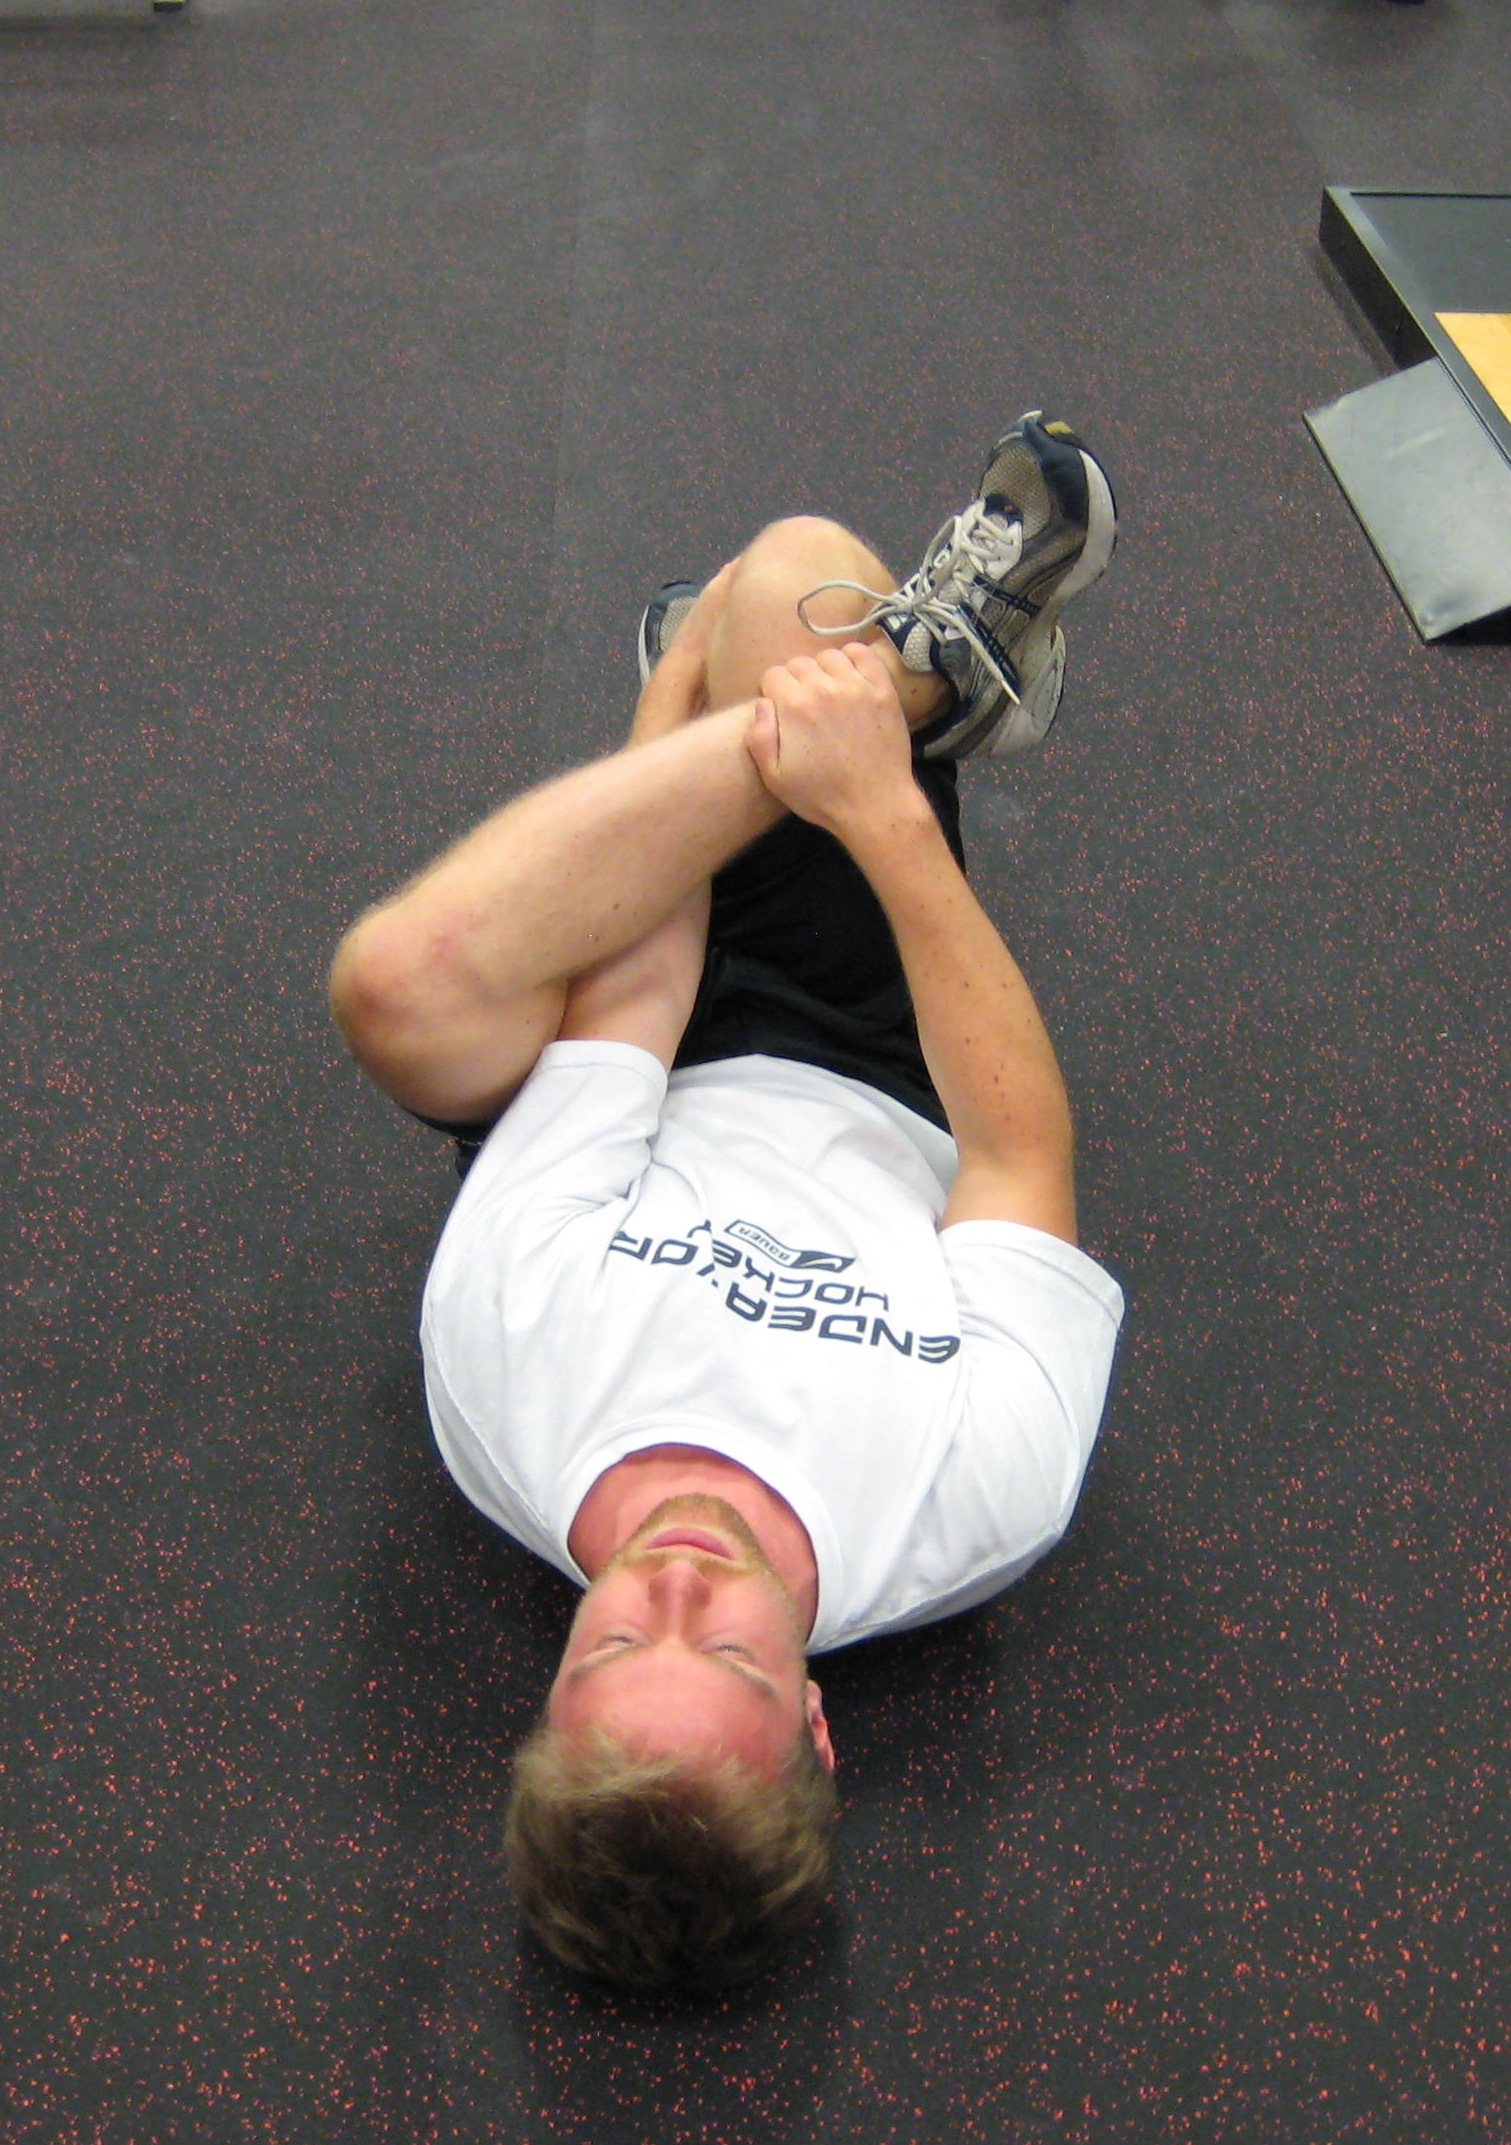
More frequently, people feel it in the front or inside of their hip joint, which is a sign of impingement.
If you suffer from “hip tucking syndrome” and the soft-tissue work, stretches, and mobility drills haven't helped, run yourself through this test and see how far you get with a neutral lumbar spine and how it feels. If you think you suffer from impingement the solution is simple:
Stop all of your movements (squatting, deadlifting, lunging, etc.) above the range of motion that you feel the impingement symptoms.
For most people this means not going deeper than 90° hip flexion. I know what you're thinking. “That's not all the way down!” You're right. It's not all the way down by powerlifting standards. It is all the way down for you. As I mentioned above, the alternative is to push through it, deal with chronic lower back pain and shred your hip labrum. The advantage of staying higher up in these movements (other than not getting hurt) is that you can move a lot more weight. I'll take healthy and strong over stubborn and injured.
Program-Specific Strength Imbalances
Hip strength imbalances come in two forms:
Anterior vs. Posterior and Medial vs. Lateral
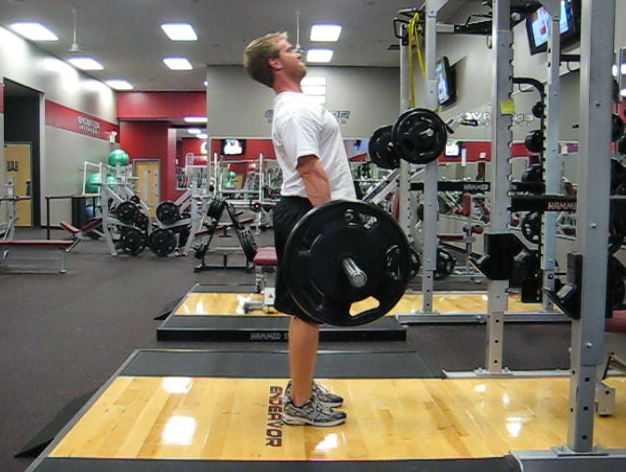
Anterior vs. posterior hip strength imbalance is generally a true strength imbalance. This usually comes in the form of excessively tight hip flexors and inhibited glutes, which is evident when people have a huge arch in the lower back at the top of a squat or deadlift. This issue has gotten a lot of attention recently so I won't belabor the point. Some common hip flexor stretches between lower body sets will help loosen up your hip flexors.
Psoas Stretch
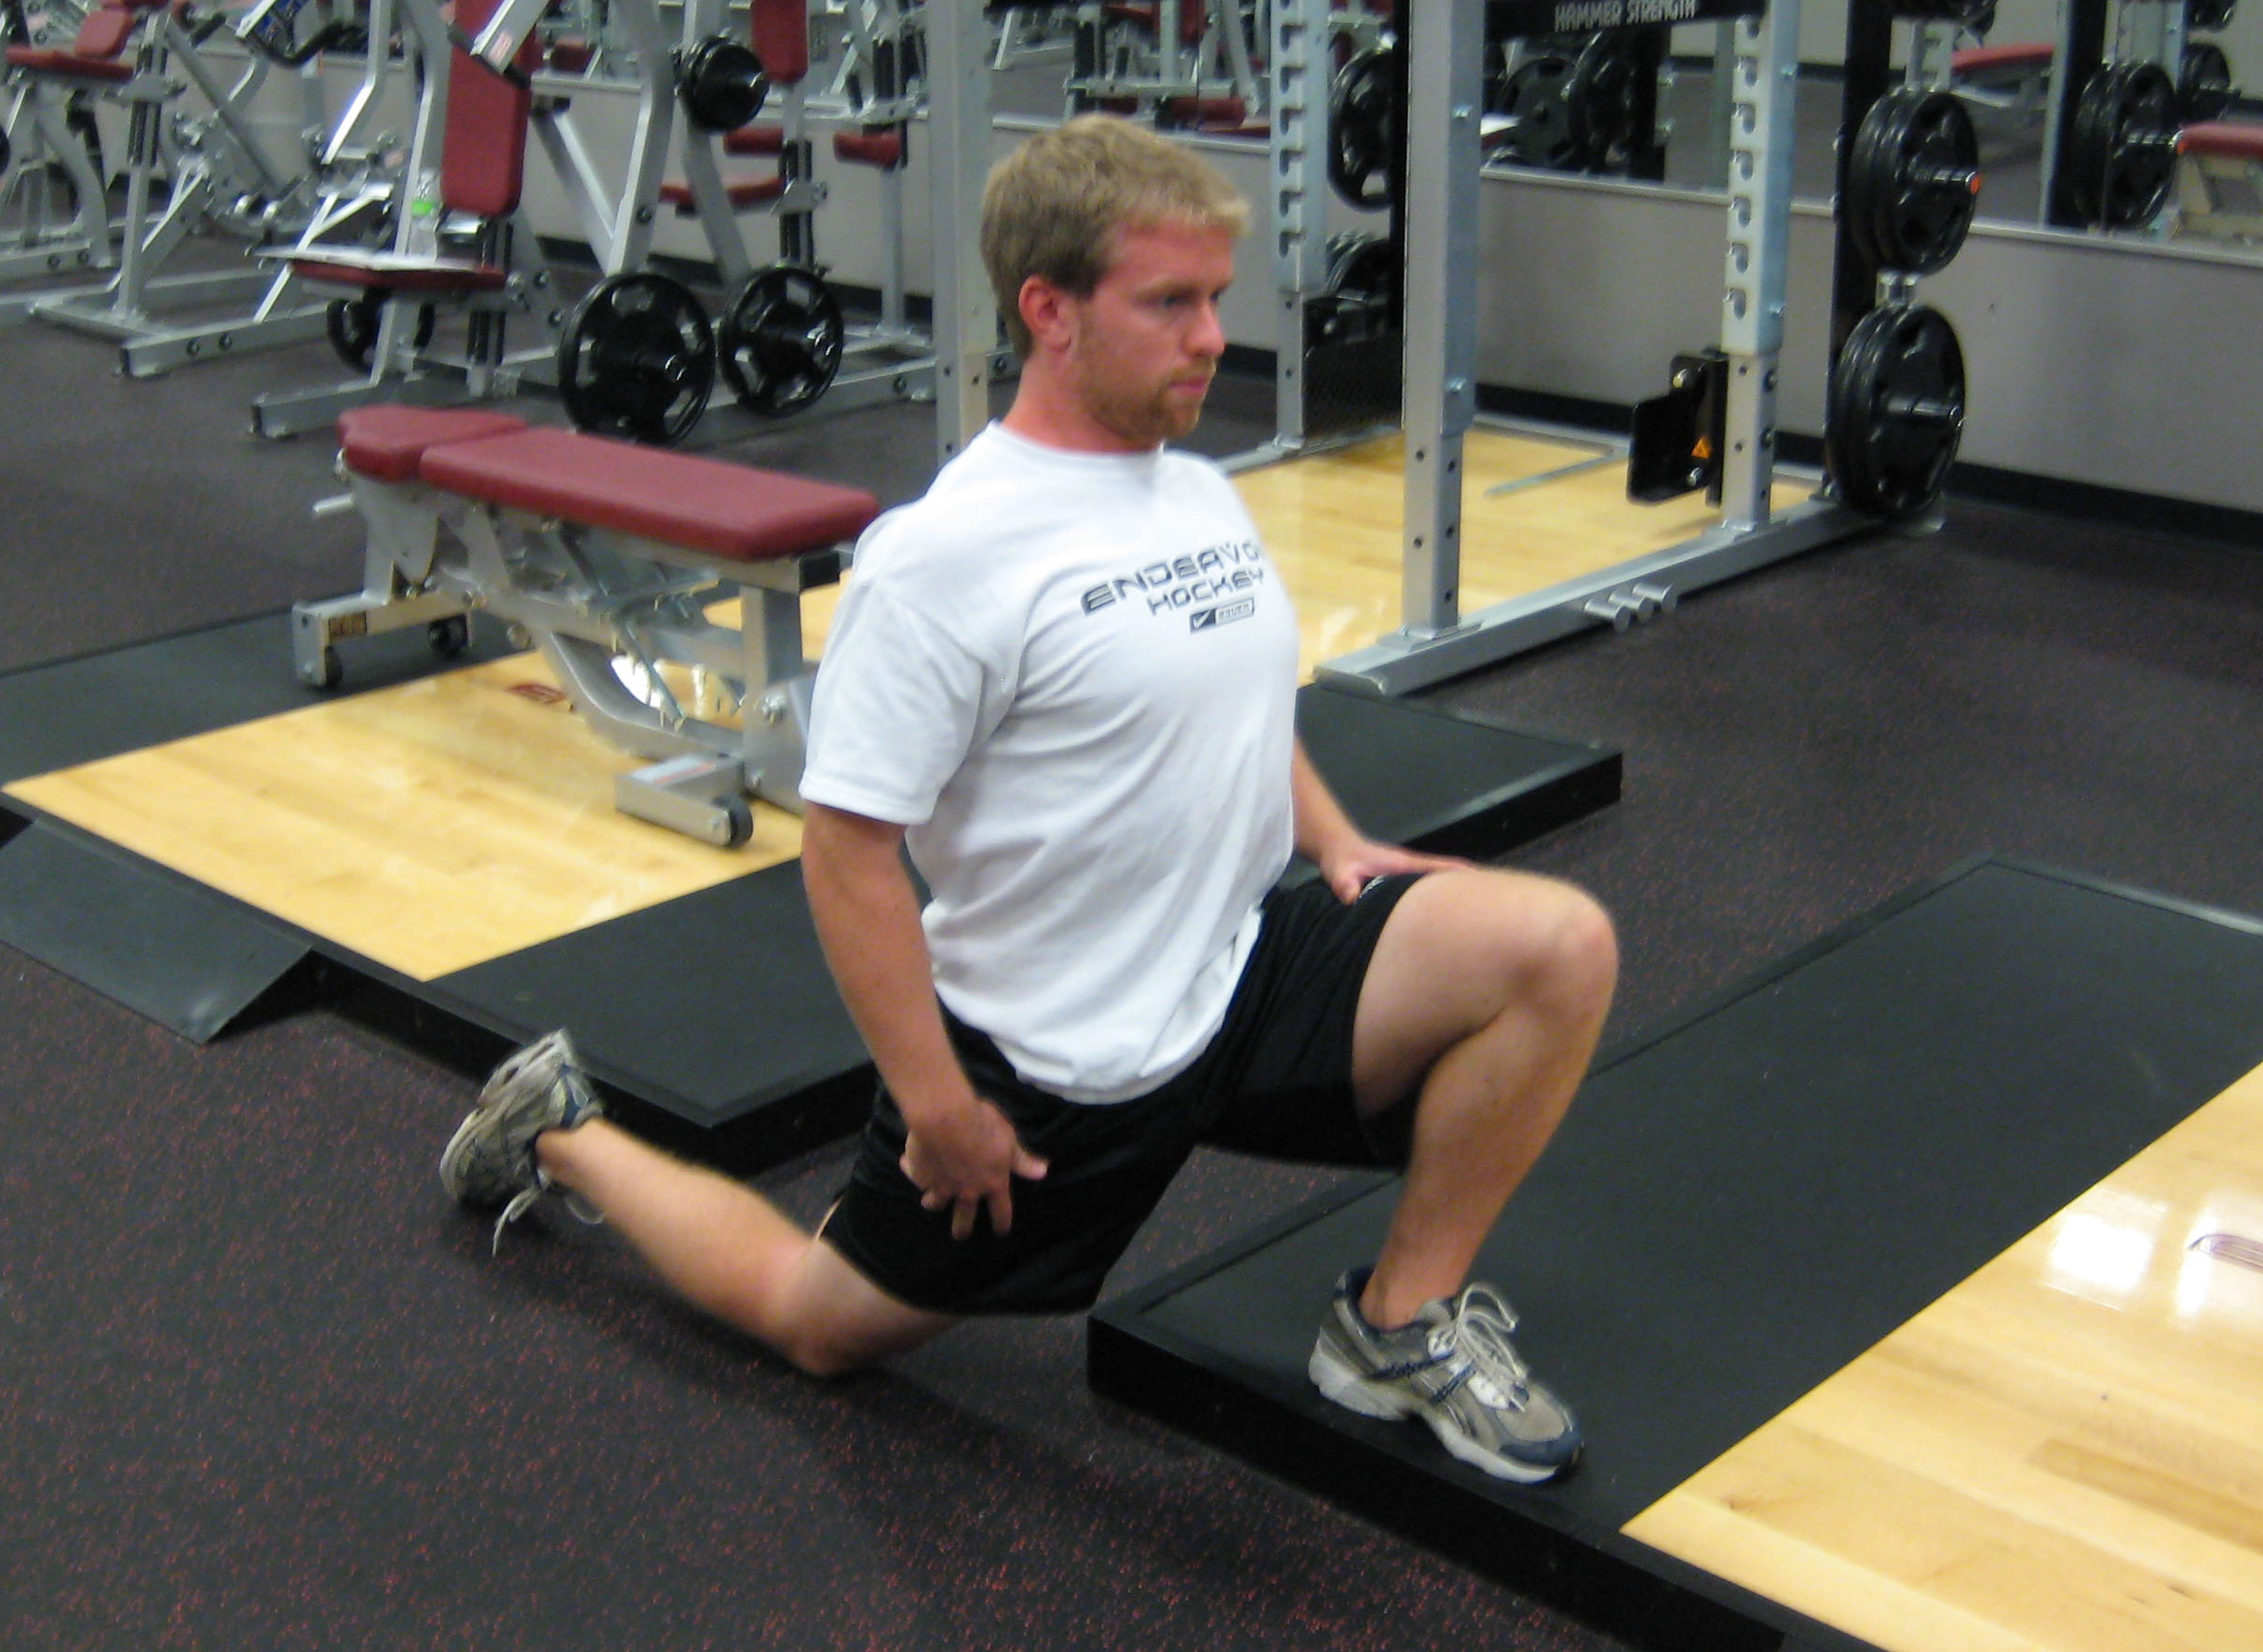
Some glute activation work (e.g. glute bridging) will help wake the muscle up, but I've seen people do glute activation work and still squat/deadlift with a poor hip extension pattern. I think it's more important to cue pulling your hips through and teach the difference between hip extension and lumbar extension. Focusing on using the glutes to pull the hips through is another form of activation and typically leads to a better pattern under heavy loads.
Lumbar Substitution
Assessing medial vs. lateral strength imbalances can be a bit tricky. A general rule of thumb is that programs with predominantly double-leg lower body exercises will need some extra strength work for the lateral hip musculature. There are a few decent exercises to work the lateral hip, such as glute bridges with a miniband around the knees and lateral miniband walks. I don't mind these exercises for activation purposes in a warm-up, but I don't think the loading is heavy enough to really correct the imbalance. The best solution is to do some heavy single-leg exercises. My favorite two are the Bulgarian Split Squat (or Rear Foot Elevated Split Squat) and the Reverse Lunge (these can be performed with the bar in a front squat or back squat position).
Mixing in single-leg work is a great idea for people on double-leg programs anyway to unload the spine, but it's also a great way to develop leg strength. Michael Boyle recently wrote a great article on an experiment he did with some of his athletes. To summarize, the sum of the weight his athletes could lift with a Rear Foot Elevated Split Squat on each leg was drastically higher than what they could do in a double leg pattern. I've had similar results. I have several athletes that did a Reverse Lunge for 3 reps on each leg with over 250 pounds that definitely couldn't squat 500 lbs. I bring this up as a way to make it clear that mixing in a 3-week cycle or one day during each week of single-leg work won't slow your lower body development. It will likely improve your rate of progress.
In contrast, programs with predominantly single-leg lower body exercises will need some extra strength work for the medial hip musculature. Not long ago I wrote that single-leg exercises would result in greater force production from the lateral and medial hip musculature. I was wrong. Last Summer, I completely trashed all double-leg exercises from the programs of my advanced hockey players at Endeavor. I was surprised to hear complaints of “tweaked groins” in a handful of my players, especially since they'd been skating pretty regularly. Luckily I've had success in bringing them all back to a pain-free state within about two weeks with one circuit that almost anyone can do at any gym that has medicine balls.
Basically this is a circuit of crushing a medicine ball between your knees in 6 different hip positions:
1) Maximal Hip Flexion, Knees Flexed 90°
2) Midrange Hip Flexion, Knees Flexed 90°
3) Maximal Hip Extension, Knees Flexed 90°
4) Maximal Hip Extension, Knees Extended
5) Midrange Hip Flexion, Knees Extended
6) Maximal Hip Flexion, Knees Extended
Pictures of these exercises can be found in the article: A New Approach to Handling “Groin” Strains.
Each “crush” lasts 30s, followed by 30s of rest. The whole circuit takes 6 minutes, or can be mixed in between sets of other exercises. By crushing the med ball in different positions of hip flexion/extension, the adductors can be strengthened with appropriate co-contraction from other hip flexors/extenders. Flexing the knee to 90°, decreases the force production from the gracilis (a two-joint adductor), relying on greater force production and a different co-contraction pattern from the one-joint adductors.
Wrapping Up
If you only take one thing home from this article it should be that everyone's anatomy is different. I'm not against making “ideal” range of motion guidelines, but not everyone can squat to an upper thigh parallel position or deadlift from the floor safely. Screening for anatomical abnormalities and strength imbalances and working around your individual limitations will allow you to make better progress and stay healthy in the process.